How To Send A Handwritten Card Online
There’s nothing like a handwritten card to reach out across the distance and touch another person. They show you care in a way that an email or a text message can’t match. But they’re also time-consuming to create. You have to buy the card, fill it out by hand, make a separate trip for a stamp, and then get it into the mail.
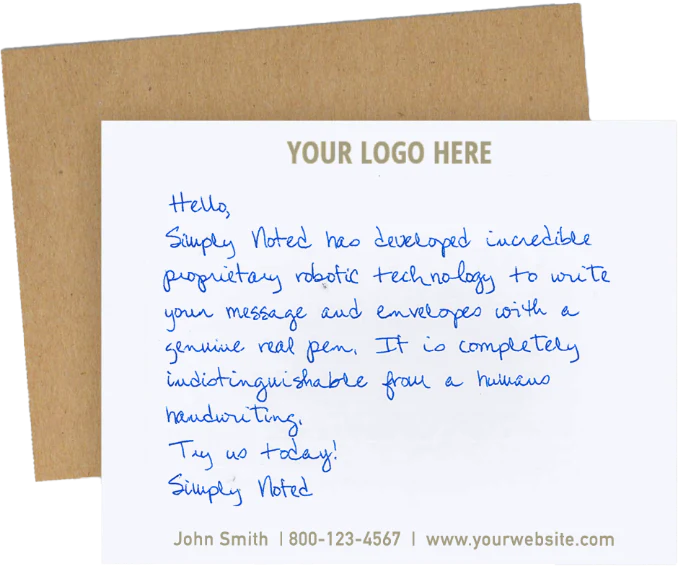
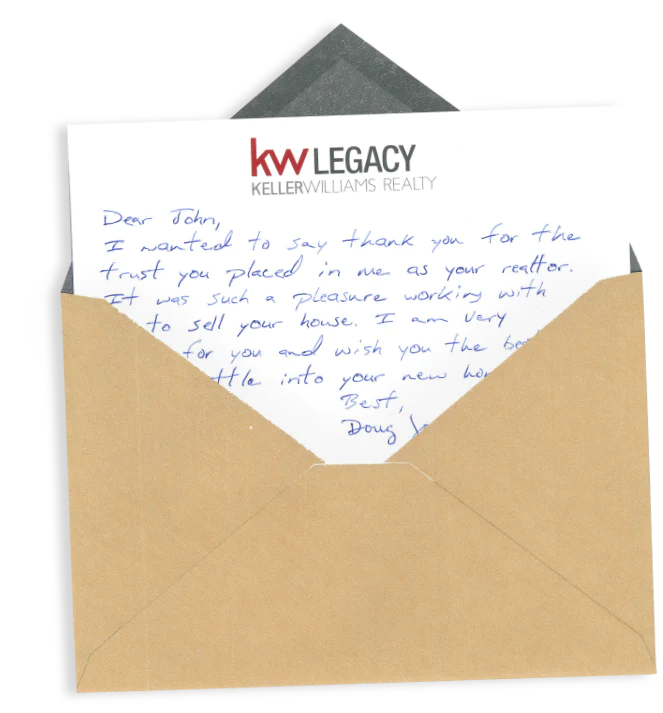
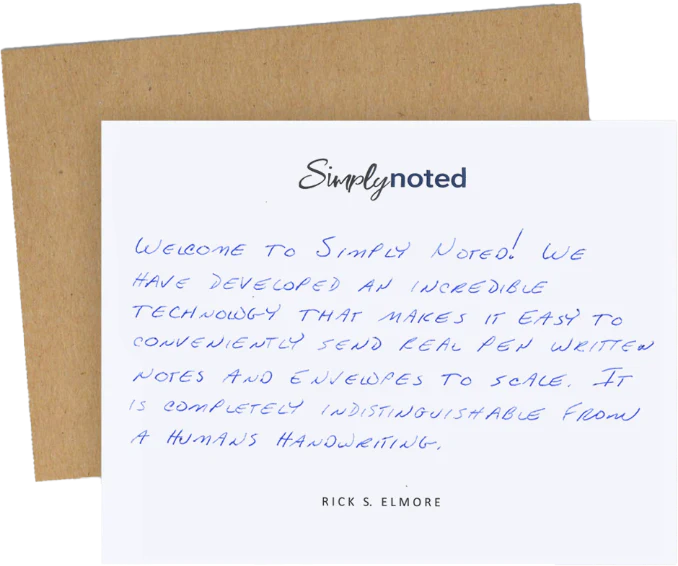
Or, you can send a handwritten card digitally. Simply Noted lets you send one card or thousands, created by our automated handwriting machines using real ballpoint pens. The card and the envelope will be penned in the handwriting style of your choice and then mailed for you. We make sending handwritten cards as easy as sending an email.
In this tutorial, we’ll show you how to send a single card. You’ll learn how to send bulk notes in the next blog post.
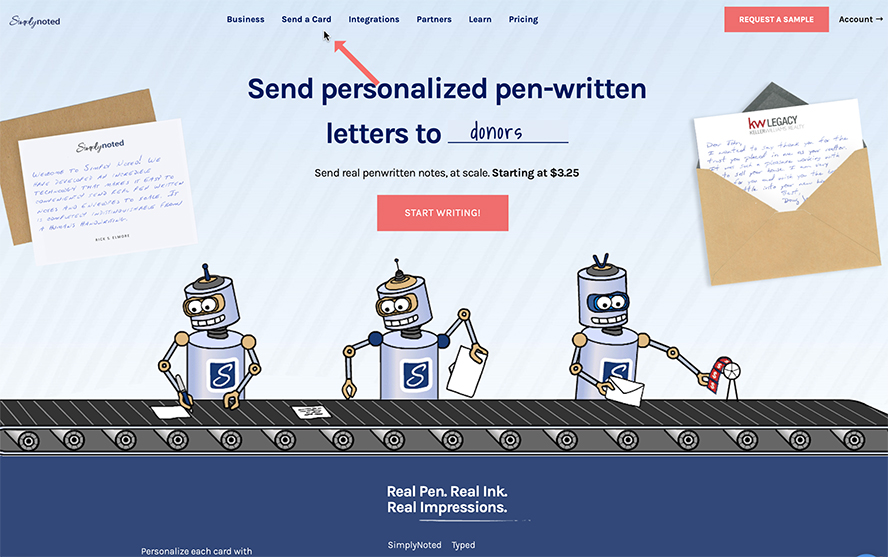
To begin, log in to your account or create a new one by clicking “Login” at the top right of the screen. Logging in will allow you to save addresses and other account details.
SEE ALSO: Best Ways to End a Greeting Card
CHOOSE A CARD
Now click “Send a Card” at the top of the screen. This will display our full selection of tastefully-designed cards. If you’d like to narrow your choices to a specific type of card, like birthday or thank you cards, click on “All Cards” and choose the category you want from the contextual menu that appears.
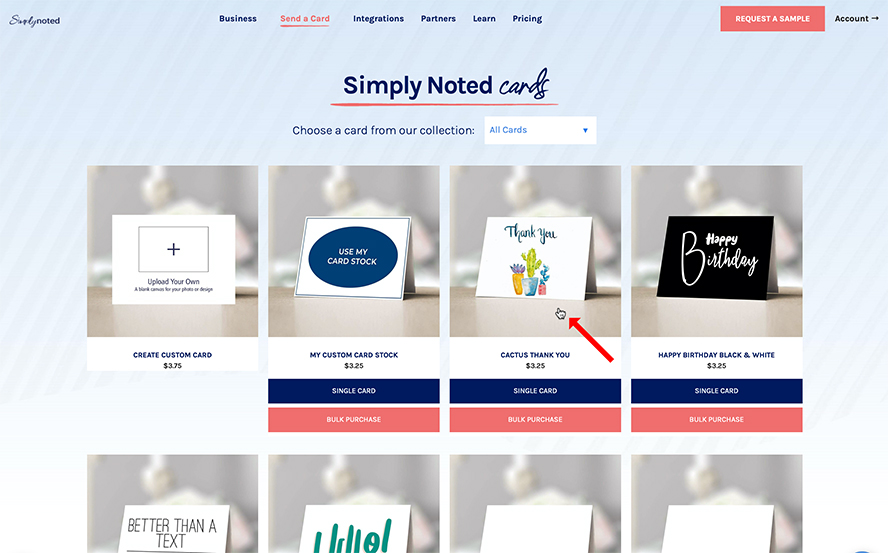
Once you’ve decided on your design, you can choose “Single Card” or simply click on your card’s image. In this case, we’ve selected the Cactus Thank You design.
SEE ALSO: 10 Thank You Card Designs and Tips on What to Write
SELECT YOUR HANDWRITING STYLE
We offer a number of handwriting styles to suit any design or message, whether you prefer loose, casual, graceful, or refined. The text sample to the left will update to reflect your font choice, providing a preview of the style.
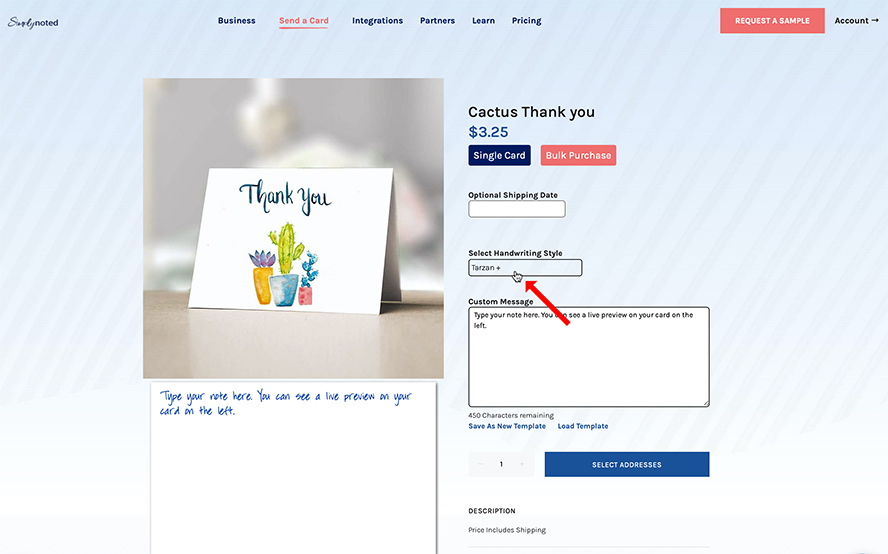
Optionally, you can select a shipping date if you want your card mailed at a specific point in the future. Enter your date in the field above handwriting style.
SEE ALSO: 5 Sample Sympathy Thank You Notes
ENTER YOUR MESSAGE
Now type your message into the Custom Message field below your handwriting choice. Be sure to replace the sample sentences with your desired text. As you type, your message will appear on the sample card to the left, formatted in your chosen font. This is a representation of what your card will look like once penned. You can try different font choices at any time.
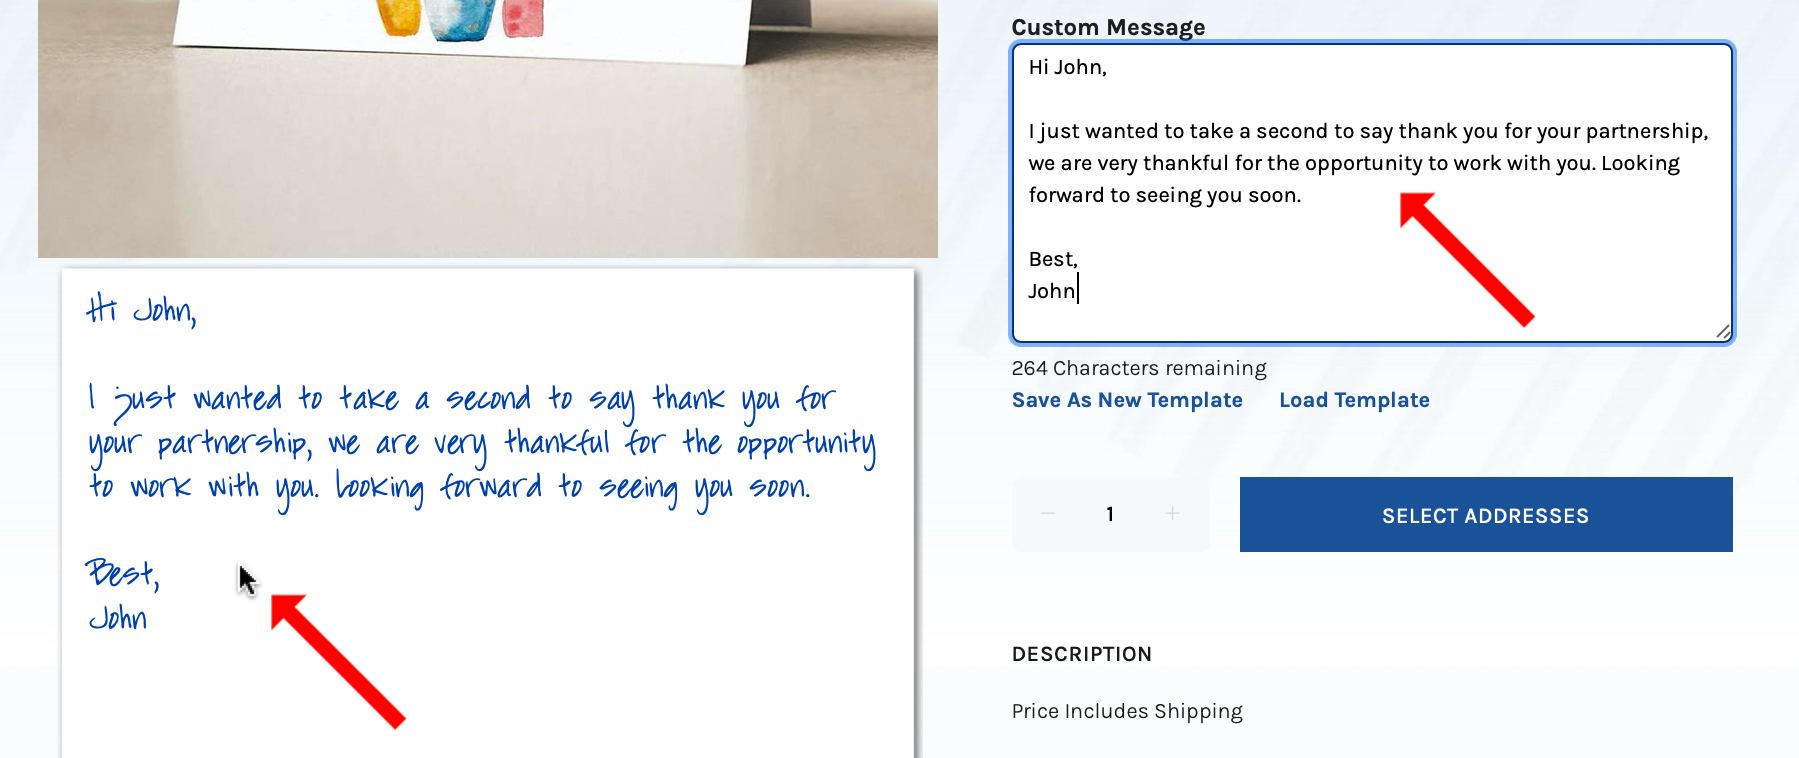
If you’d like to use this message on future cards, you can save it as a template. You can also search your previously-saved templates to use with your current card.
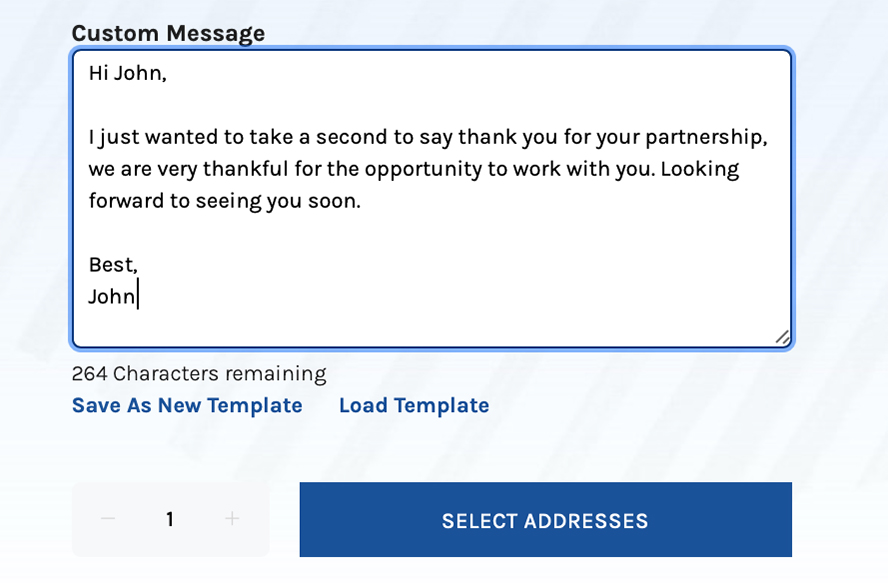
You’ll notice a word count at the bottom of the field. You can enter up to 450 characters. As you type, this counter will track the number of characters remaining. Once you’re satisfied with your message, it’s time to enter your addresses! Click “Select Addresses.”
ENTER YOUR ADDRESS INFORMATION
Your card won’t get very far if we don’t know who to send it to or who it’s from. If you’ve sent cards before (and you’re logged into your account), you’ll have the option to search previous addresses.
To enter new addresses, first click “New Address” under “Your Info (return/sender address).” This is the address we’ll write in the top left corner of your envelope — your return address.
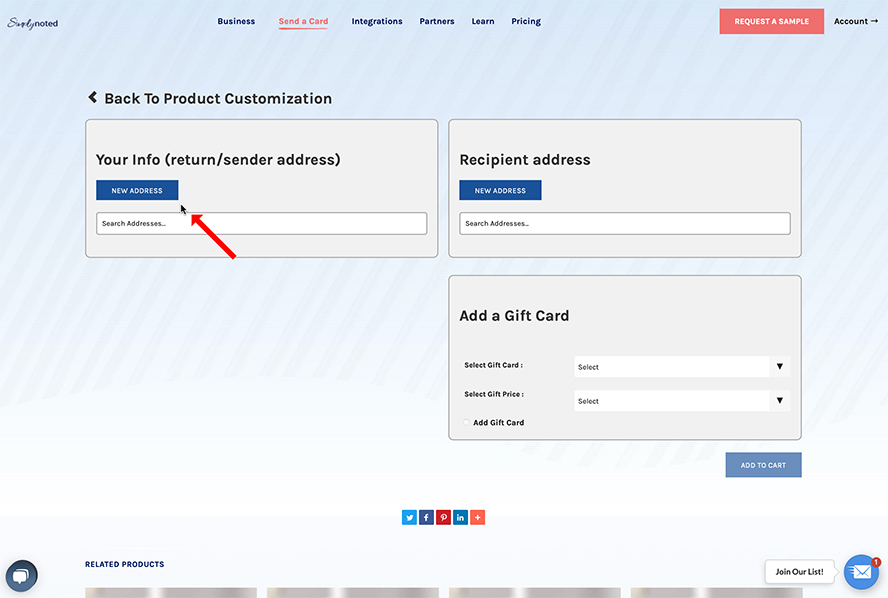
Enter any relevant address information into the window that appears. Our system can recognize addresses and will attempt to auto-populate the fields as you type. Once you see your address appear in the options, select it, and your address will be entered automatically. Once finished, click “Save Address.” The information will be saved to your address book for future use.
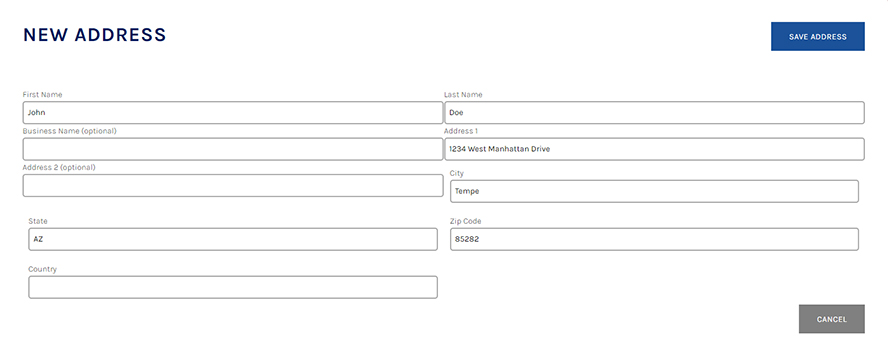
Next, enter your recipient’s address in the same manner.
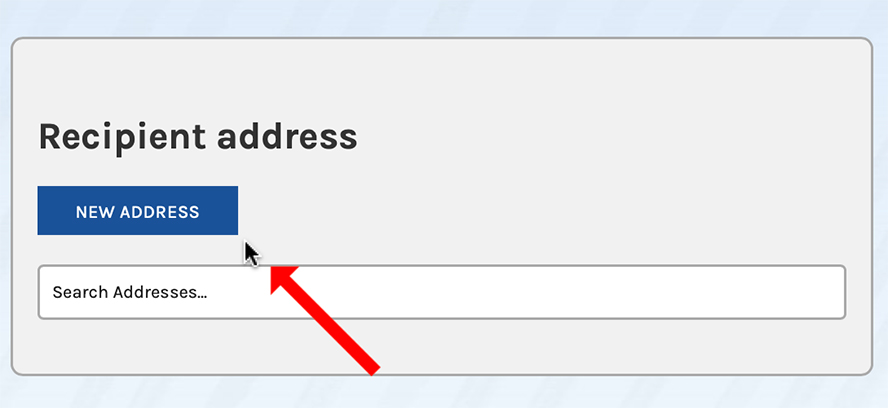
You have the option to include a gift card. If you’re sending a birthday, graduation, or similar note, this is an easy way to include a gift. First, select the type of card you’d like to send, and then choose a dollar amount.
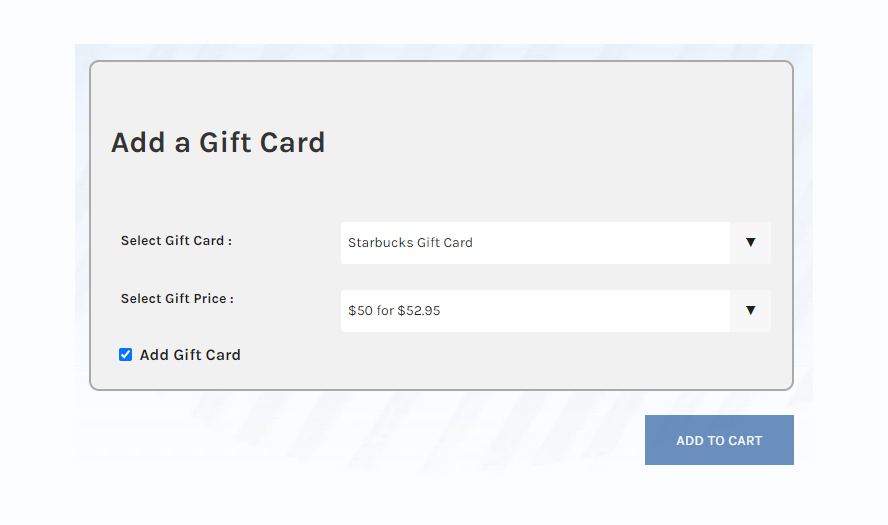
Once you’ve completed this page, select “Add to Cart.”
FINALIZE YOUR PURCHASE
You’ll be taken to your shopping cart. The card you just created will be displayed, along with its associated costs. This is your last chance to confirm that all of the information you entered is correct.
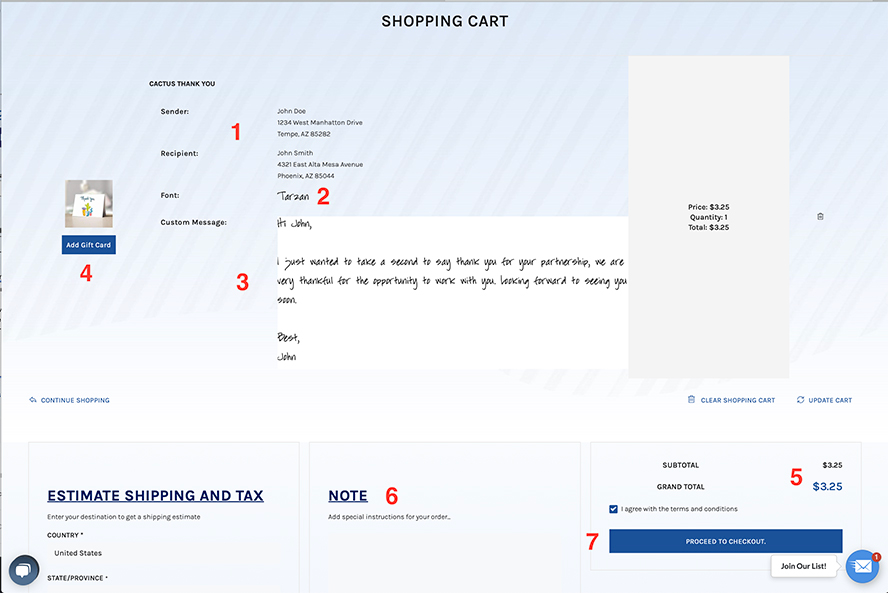
At the top, marked here with a number one, you’ll see your addresses. Next, at number two, your handwriting style is displayed. Your message is next, shown in the font you selected.
If you selected a gift card, you’ll see it reflected in your cart. Otherwise, you’ll have the option to add one, as shown by number four.
Number five shows your total cost. If you’re sending multiple cards, they’ll all have their own entry, and the total will be reflected. If you have any special instructions, enter those in the field marked six.
If everything is correct and you’re ready to purchase, check the box next to “I agree with the terms and conditions” and then click “Proceed to Checkout.”
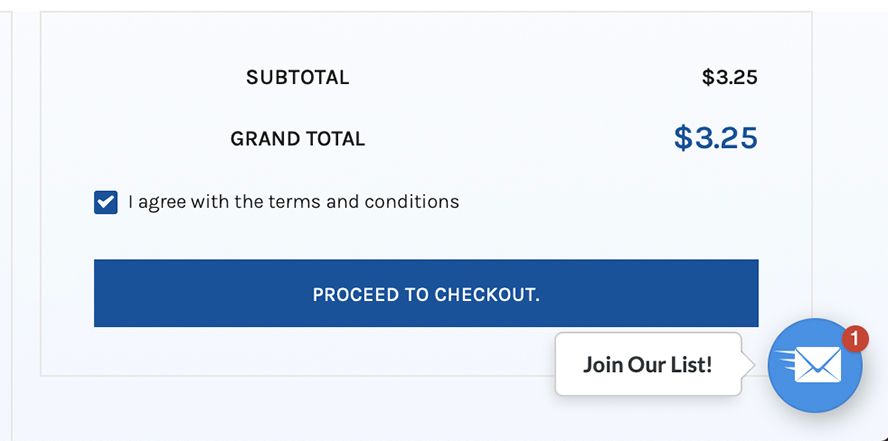
If you haven’t logged into an account yet, you’ll be prompted to. Create a new account or log in to an existing one. Now, all that’s left to do is verify your payment information and finalize your purchase.
SEE ALSO: Wondering How to Sign a Birthday Card? Here Are 5 Best Practices.
YOUR CARD IS ON ITS WAY
That’s it! You just sent a handwritten card without lifting a pen, buying a stamp, or making a trip to the post office. If you chose a specific mailing date, your card will be written and addressed by our automated handwriting machines using a real ballpoint pen and sent out then. Otherwise, it will be mailed within our standard delivery window.
We send all of our cards first class. Our machines will apply a real stamp before your note is mailed. Generally, U.S. first-class mail will arrive within 3-4 days. If you’d like more specific mailing windows, you can check standard service maps here.
As you can see, sending a handwritten card online is easy! Never forget to send another card again. With Simply Noted, you can purchase it anytime and have it sent at a future date. If you have any questions, please don’t hesitate to contact us.


